
UPDATE: 6/24/13
We are almost finished!
We had picked about 5 different colors of orange and couldn't make up our minds. I finally picked one...
 So since I had picked a color Don decided to pour all of the samples in a bucket of white paint to make a primer. Turns out that we liked that color better than the one we originally picked. It is more yellow but it looks great with the white woodwork.


 Look at all the yucky dust! Hopefully this will be the last of it!
 Look at how thick all that dust is! YUCK!

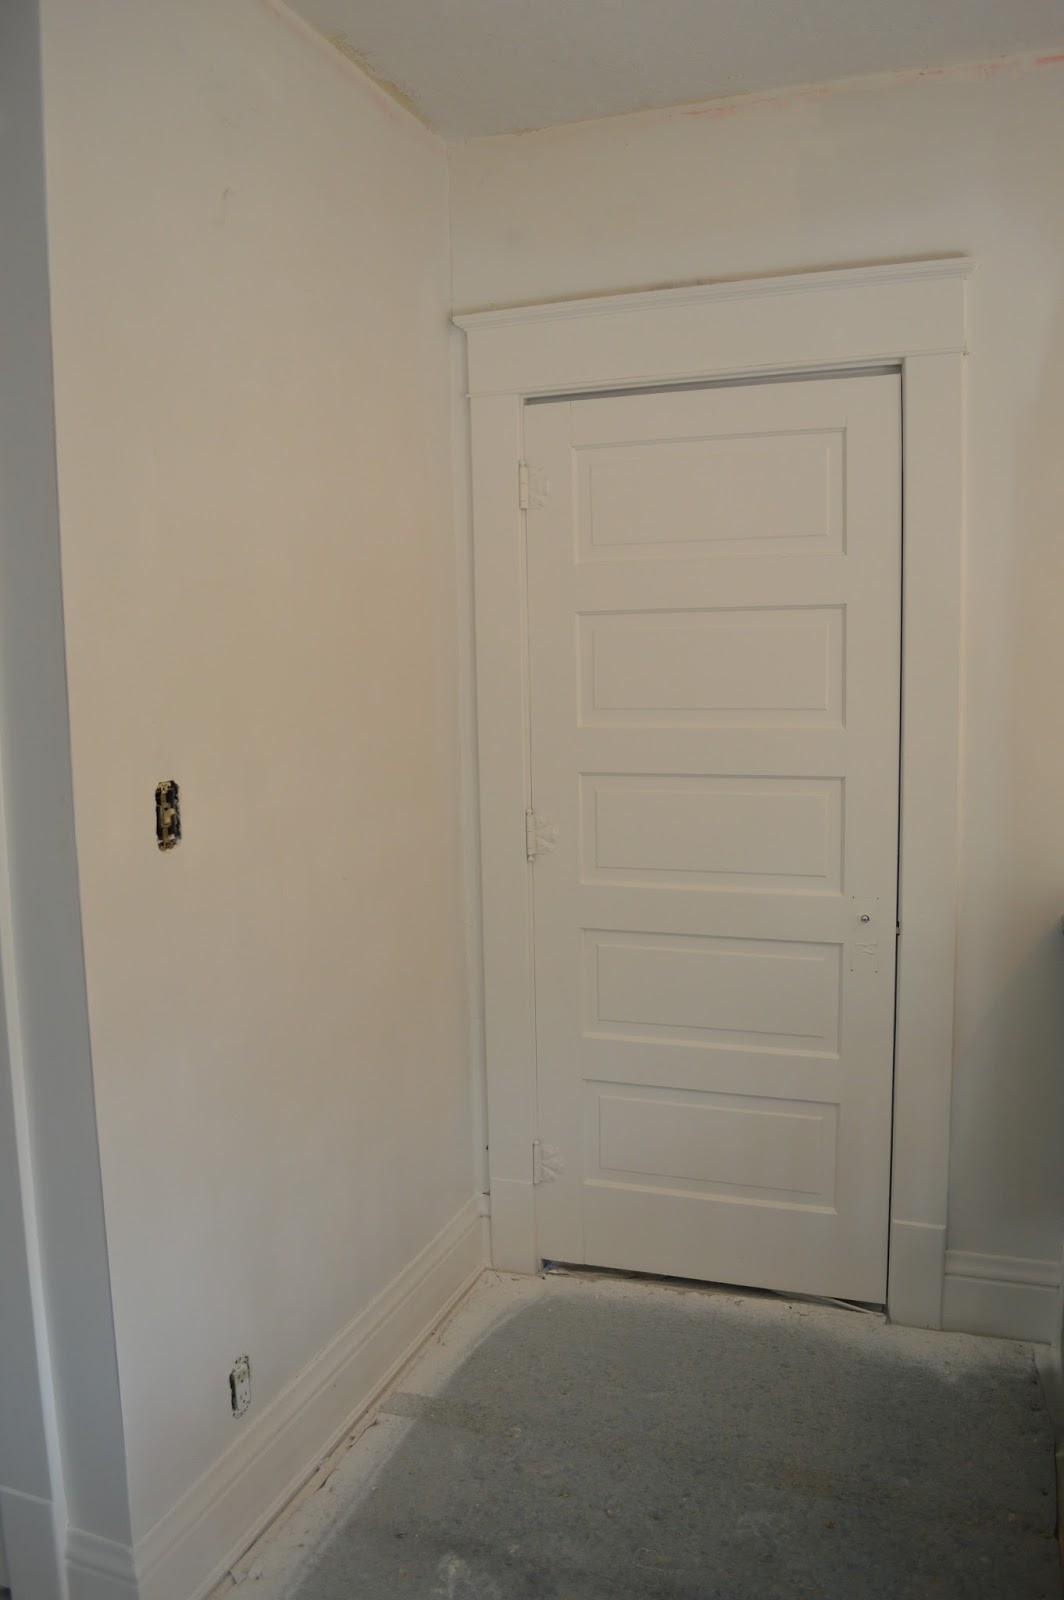
 And this is it all painted and cleaned up!
We just have some small things to finish... like putting the spindles and shoe mold back in.


UPDATE: 6/16/13
Yesterday we framed in the wall for the half bathroom that will be downstairs.
This is not a project we plan on finishing anytime soon, but we wanted to get the wall up and get all of the dirty drywall sanding out of the way before the baby comes.
Check out the pictures!
This is what the woodwork at the end of the hall looked like before. It needed to come down while we built the wall. It will go back up during the bathroom renovation.

 Lots of dirt and who knows what came with it!
 One last look at the hallway before we close it in!

 What it looks like from inside the "bathroom".
 Drywall is going up...
 And its all up and mudded! Ready to sand and paint!
I can't wait!

UPDATE: 6/12/13
Don has gotten so much done and I can't wait for you to see the progress! He even says we might be "done" this weekend! I can't wait!
5/26/13
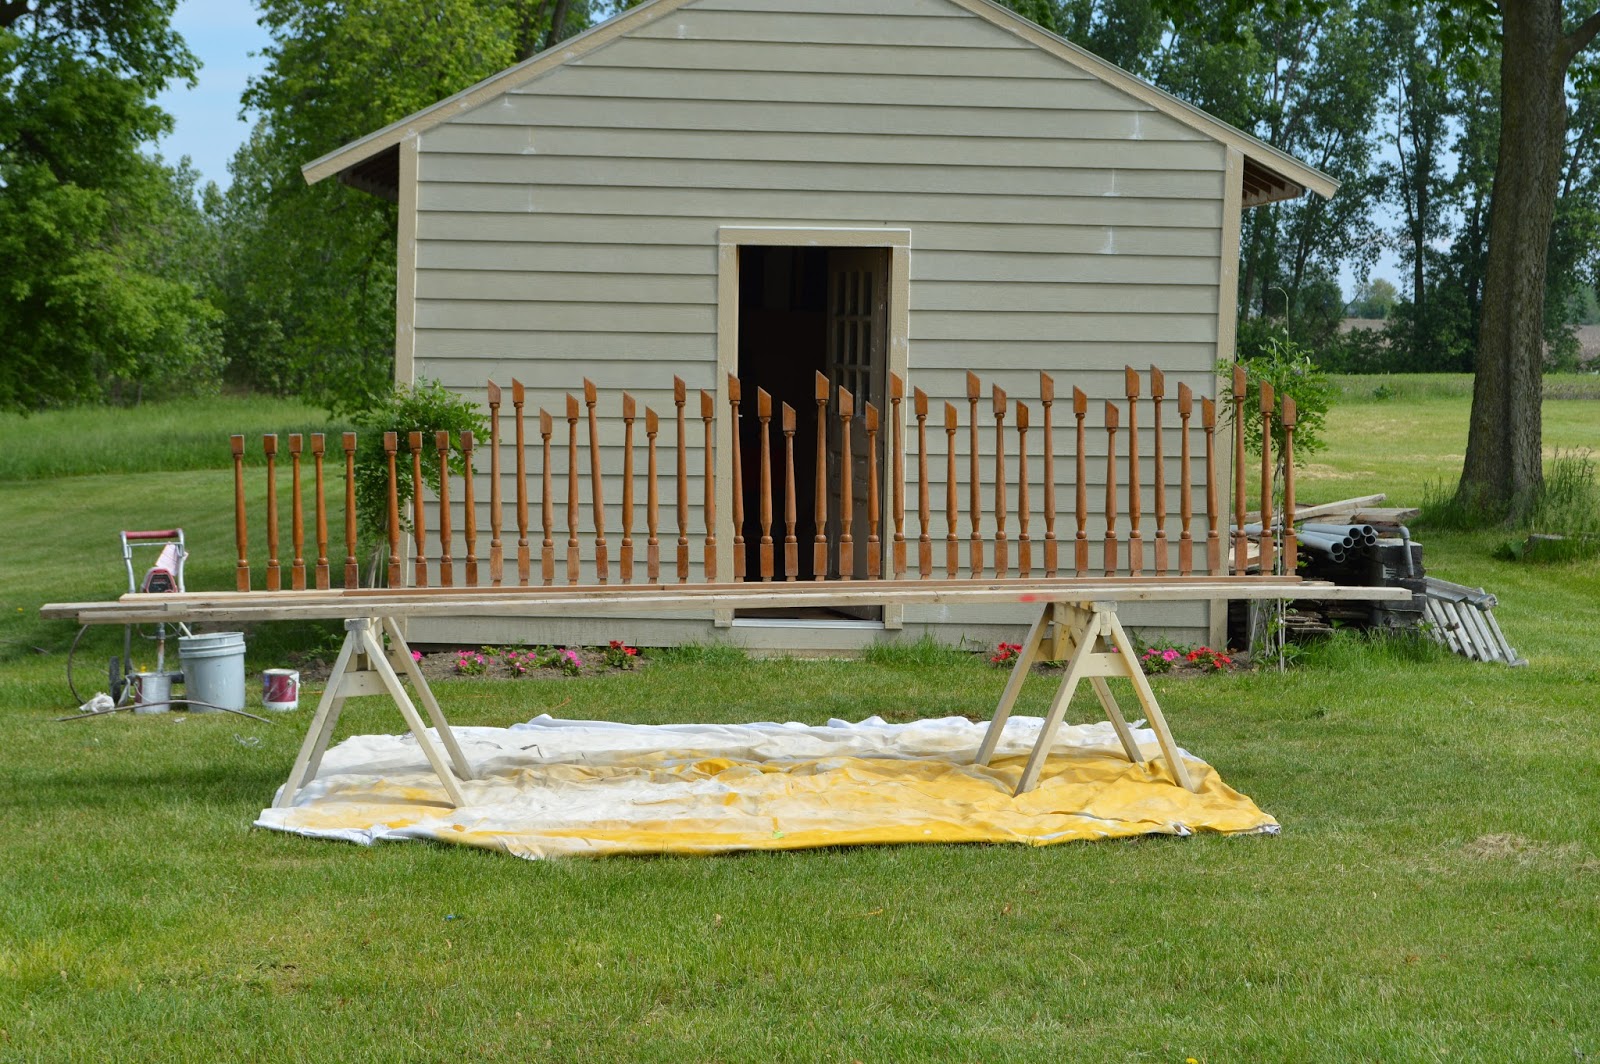
Don took all of the spindles off the stairs, grabbed the doors from the nursery and headed out to the backyard to start spraying them.


 And after... now everything is bright white!

 While the paint is drying Don worked on getting the rest of the stain off of the stairs... yuck!


 Very time consuming! But eventually it all got done!

5/28/13
Here are the stairs stripped and with thier first coat of stain. Not everything on the stairs will be stained... just wait :)
 Can anyone spot the sneaky dog prints on the stairs?


Very time consuming taping!
.JPG)
.JPG)
.JPG)
.JPG)

.JPG)


.JPG)
.JPG)
.JPG) And this is what my dining room looks like during the renovation... STUFF EVERYWHERE! I can not begin to describe how much I want all of this to be over with! :)
And this is what my dining room looks like during the renovation... STUFF EVERYWHERE! I can not begin to describe how much I want all of this to be over with! :)


.JPG)
.JPG)
.JPG)
.JPG)
.JPG)
.JPG)
.JPG)
.JPG) Ta-Dah!
Ta-Dah!
The spindles still need to go back in... and the walls will not be white so it still looks a little funny I think.
Also, the tape messed with some of the poly on the stairs so Don will need to make som minor fixes later.
.JPG) So much paper, looks like Christmas morning.
So much paper, looks like Christmas morning.
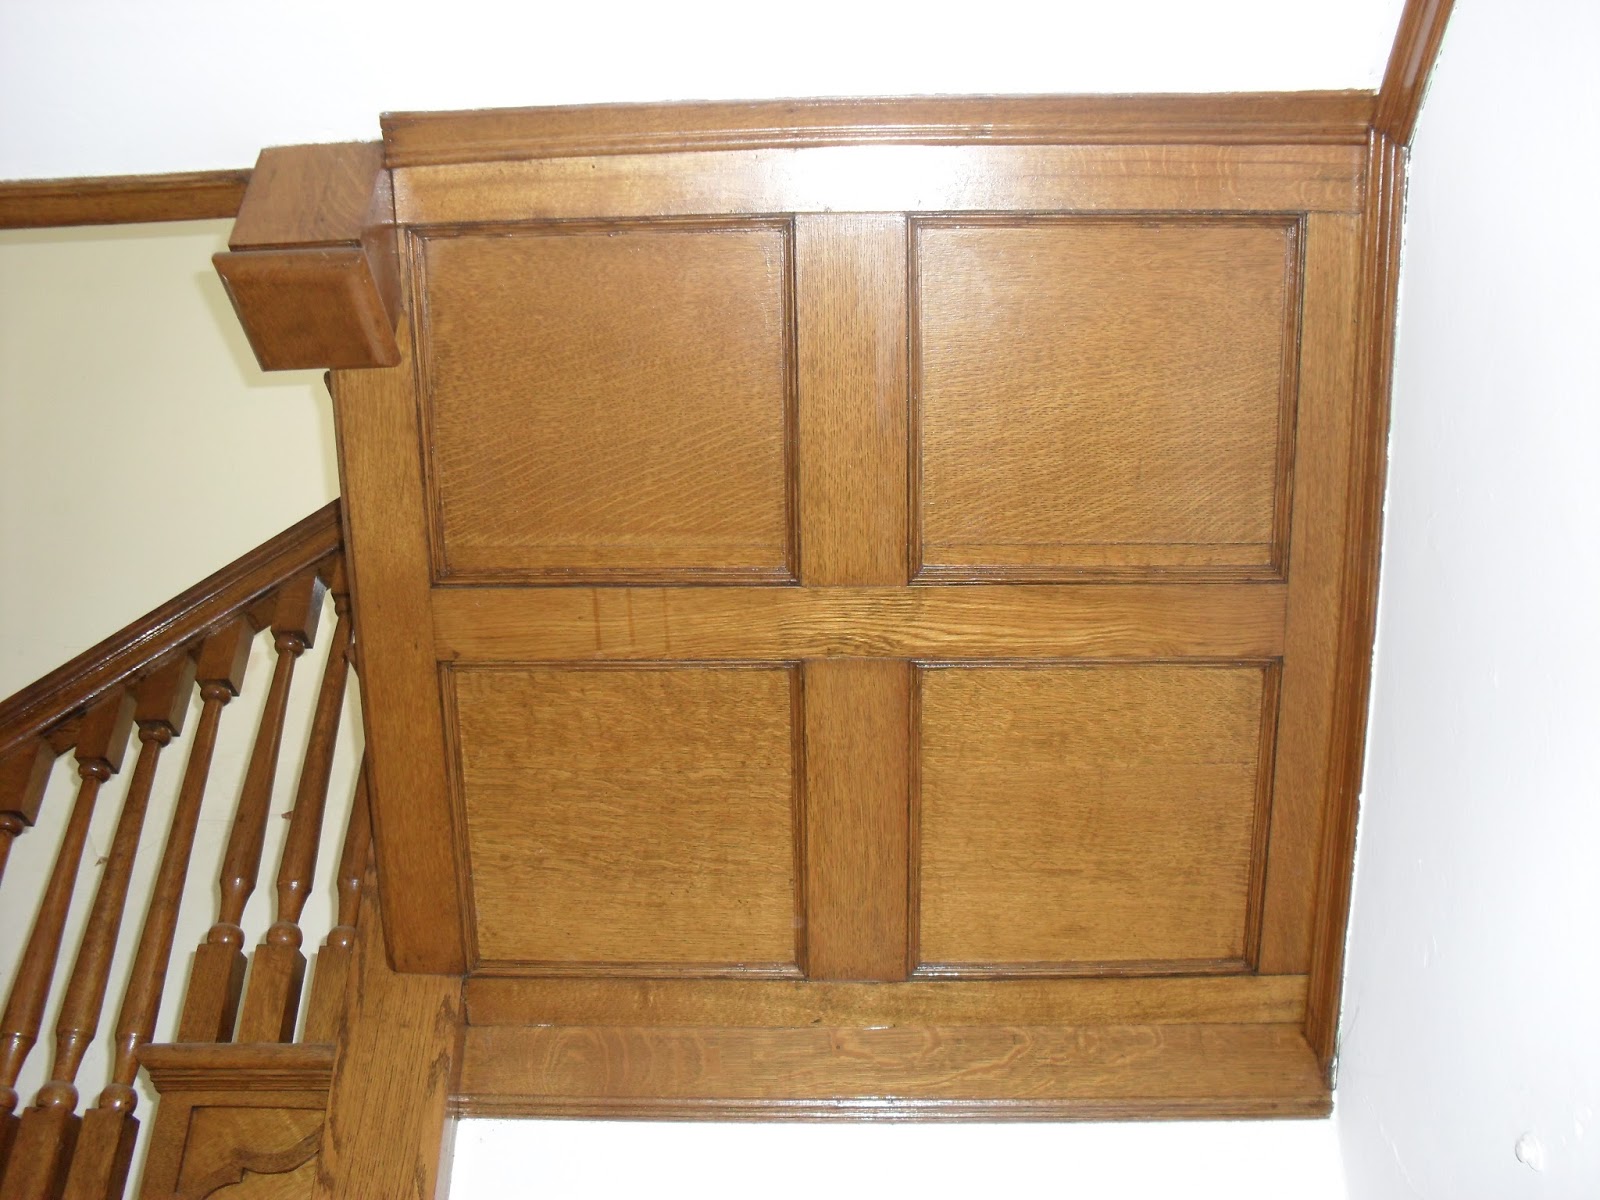
.JPG) Pretty stairs!
Pretty stairs!


UPDATE: 4/23/13
We are almost finished!
We had picked about 5 different colors of orange and couldn't make up our minds. I finally picked one...


We just have some small things to finish... like putting the spindles and shoe mold back in.


UPDATE: 6/16/13
Yesterday we framed in the wall for the half bathroom that will be downstairs.
This is not a project we plan on finishing anytime soon, but we wanted to get the wall up and get all of the dirty drywall sanding out of the way before the baby comes.
Check out the pictures!
This is what the woodwork at the end of the hall looked like before. It needed to come down while we built the wall. It will go back up during the bathroom renovation.
So this is what it looked like after Don took it down. It came out in one solid piece.


Starting to frame it in...


I can't wait!

UPDATE: 6/12/13
Don has gotten so much done and I can't wait for you to see the progress! He even says we might be "done" this weekend! I can't wait!
5/26/13
Don took all of the spindles off the stairs, grabbed the doors from the nursery and headed out to the backyard to start spraying them.
5/27/13
Time for the woodwork upstairs to be sprayed... here are some before shots...
5/28/13
Here are the stairs stripped and with thier first coat of stain. Not everything on the stairs will be stained... just wait :)
6/9/13
It took a little while to get the stairs coated with several coats of stain and poly but it is finally finished and dry enough to tape on.
I didn't take any pictures of Don doing it because it was very stinky and I didn't want to be around it!
So, now it is time to tape everything up and spray the downstairs woodwork! Yay!!!
6/10/13
The paint is finally dry enough to start taking off the tape and paper.
The spindles still need to go back in... and the walls will not be white so it still looks a little funny I think.
Also, the tape messed with some of the poly on the stairs so Don will need to make som minor fixes later.
More to come soon!
UPDATE: 4/23/13
We have been working over the past 6 weeks or so on renovating the stairs and the upstairs and downstairs hallway.
It is a huge undertaking that seems to be never ending.
We don't have a lot of time to work on it during the week, so that leaves weekends and something always seems to come up on the weekend to keep us from getting anything done.
This project comes before the nursery... so it needs to get done soon!
Here is some of our progress.
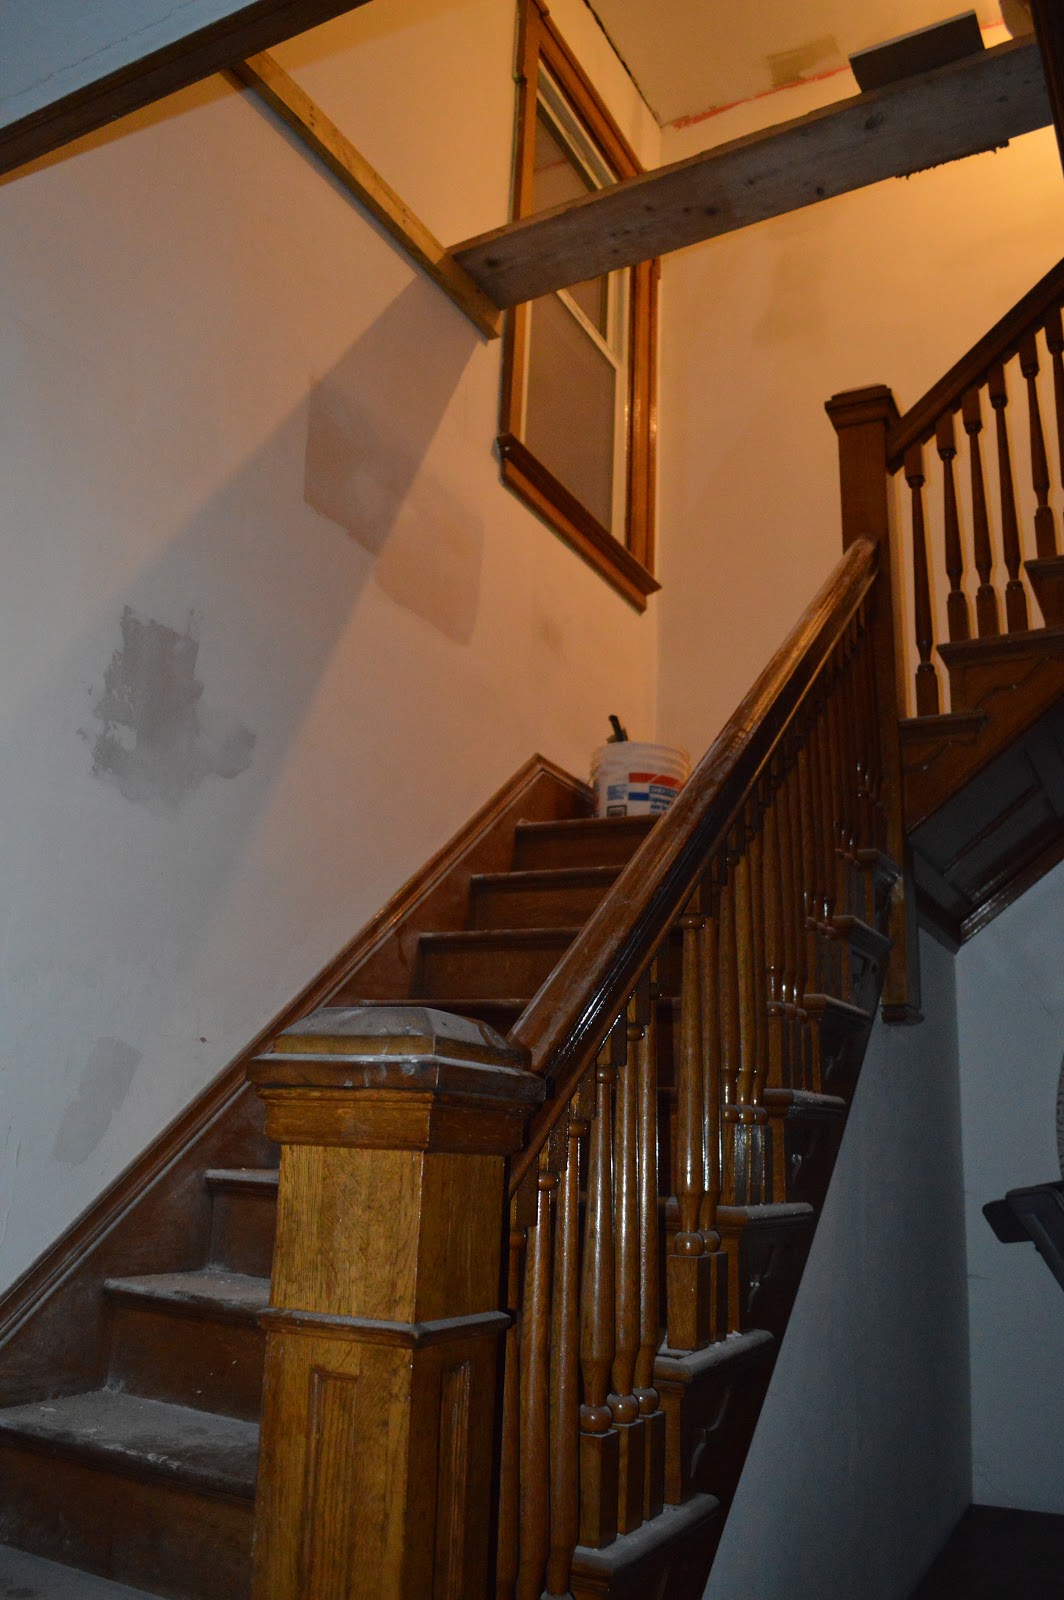
Here is a reminder of what the walls looked like before...

March 3, 2013
Don Started by chipping away all of the loose plaster to see how big of an area he was going to have to replace.


There was a little more loose plaster than I was expecting.

Then Don marked the areas where he was going to cut out the plaster.


And finally put up new drywall in the holes.

Look at all of the dust that created!

March 4, 2013
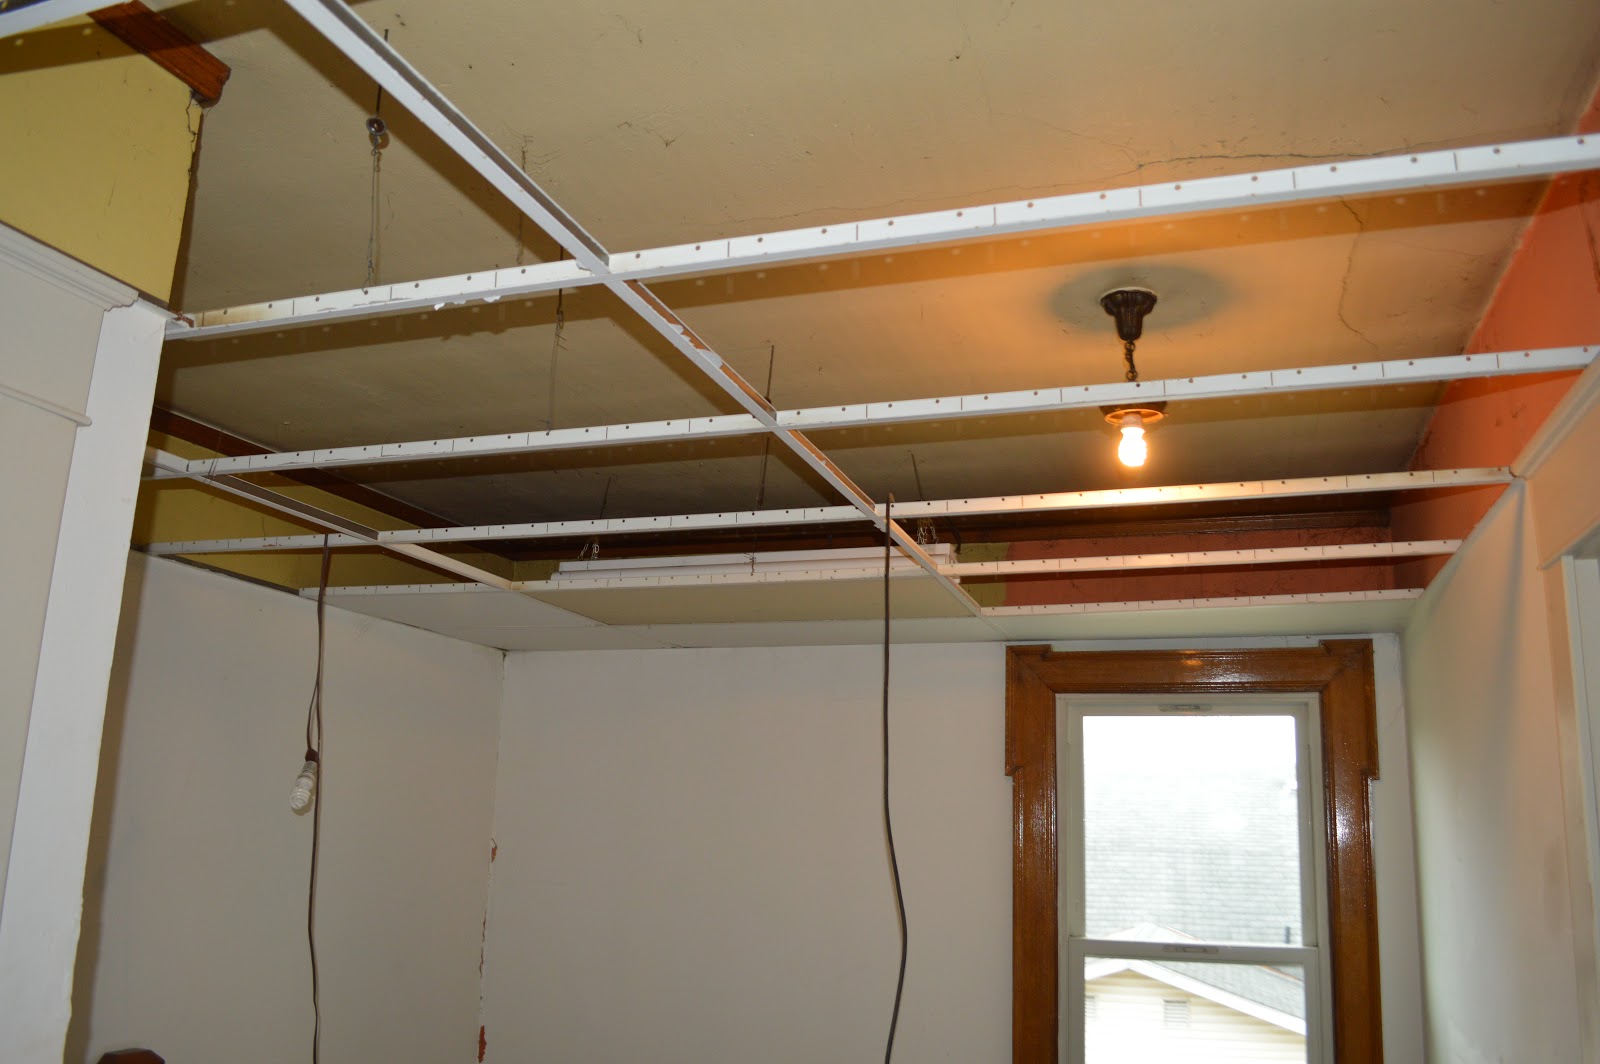
Then it was time to tackle the drop ceiling.
Don started ripping it out before I could get a good before picture... so here is an old one.
If you look real close you can see the drop ceiling...

Why they chose to put in a drop ceiling I will never know. It was only dropped about 14". Such a waste.


We discovered a light fixture that was hiding above the drop ceiling.

The flourecent light that was in the drop ceiling was wired into this hidden fixture. It is a wonder that this house hasn't caught on fire!

Lots of cracks to fix...


This is as much as Don got done this day... not bad!

March 11, 2013
Don put up some scaffolding to reach the top of the wall over the stairs and started chipping away at the plaster. Then he replaced all of the holes with new drywall.


And then started to mud over it all.


It is coming together!

March 17, 2013
Now it is time to start tackling the ceiling.


The dust is getting crazy!
I can sweep it all up and the minute Don starts to work everything is covered all over again!


Check out the little footprints!


UPDATE: 9/24/10
This past weekend we started work on the Entry Hall.
We started by tearing out the carpet...

There was some really ugly linoleum tiles under the carpet!

Whoever re-did the floors last replaced some of the wood in the corner. However, they chose not to nail it down to anything! They just laid it down and left it!

Next, we (Don) started scraping the sticky tiles up from in front of the door.

When we were done tearing everything up this is what we found.
We knew there were some soft spots under the carpet... but we had no idea it was going to be this bad.
The floors were SO wet and rotten.
That is Don standing in the basement.

We sprayed everything with bleach to kill any mold that may be there and then cut out all of the rotten wood.

Once all of the rotten floor was cut out we put down plywood down in all of the holes.


And when all of that was done it was finally time to start putting the new wood floors down.
It took a whole day and a half to tear everything up and replace the rotten wood.
Hopefully this weekend we can get the rest of the floor put in the entrance hall!

We have definatley finished the floors in the entrance hall (and living room and dining room)! I need to get some pictures posted!
BEFORE:
BEFORE:
That bench lifts up for some great storage!


The front door is behind me, the stairs are to the left and the living room is to the right through the pocket doors.
Beautiful woodwork!


Lots of drywall repair in our future!

I'm hoping I can find someone in Columbus who can make some custom stain glass to replace the DRK initials.


